Setup IP2World Proxy in Indigo
Последнее изменение:

How to setup IP2World Proxy in Indigo.
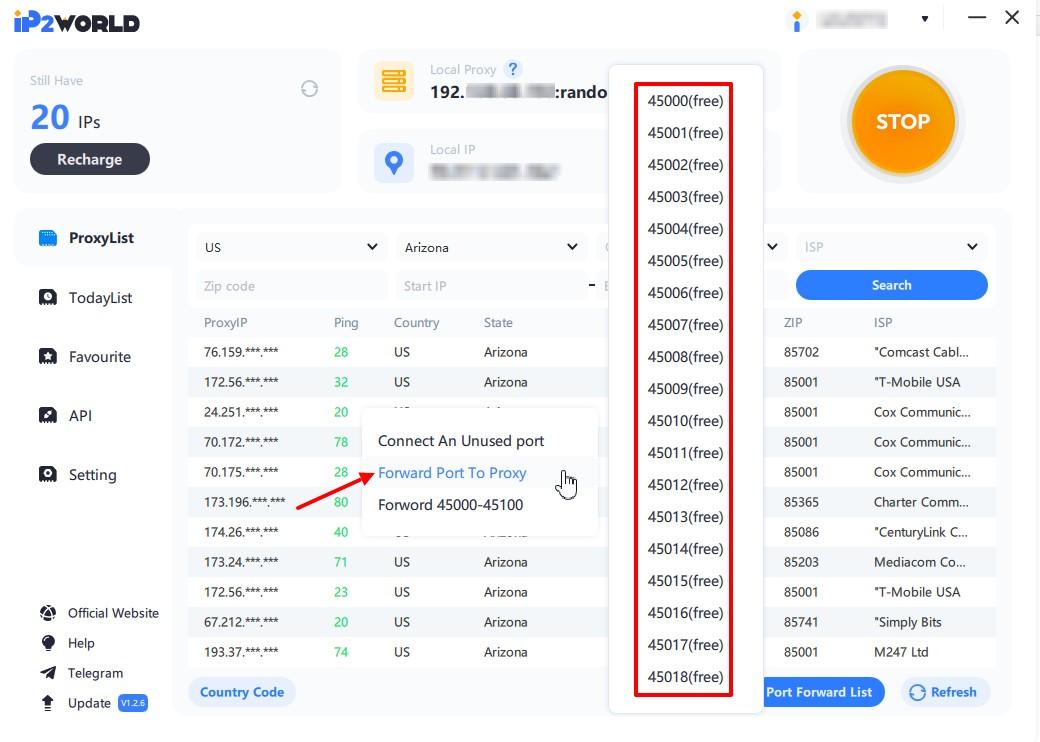
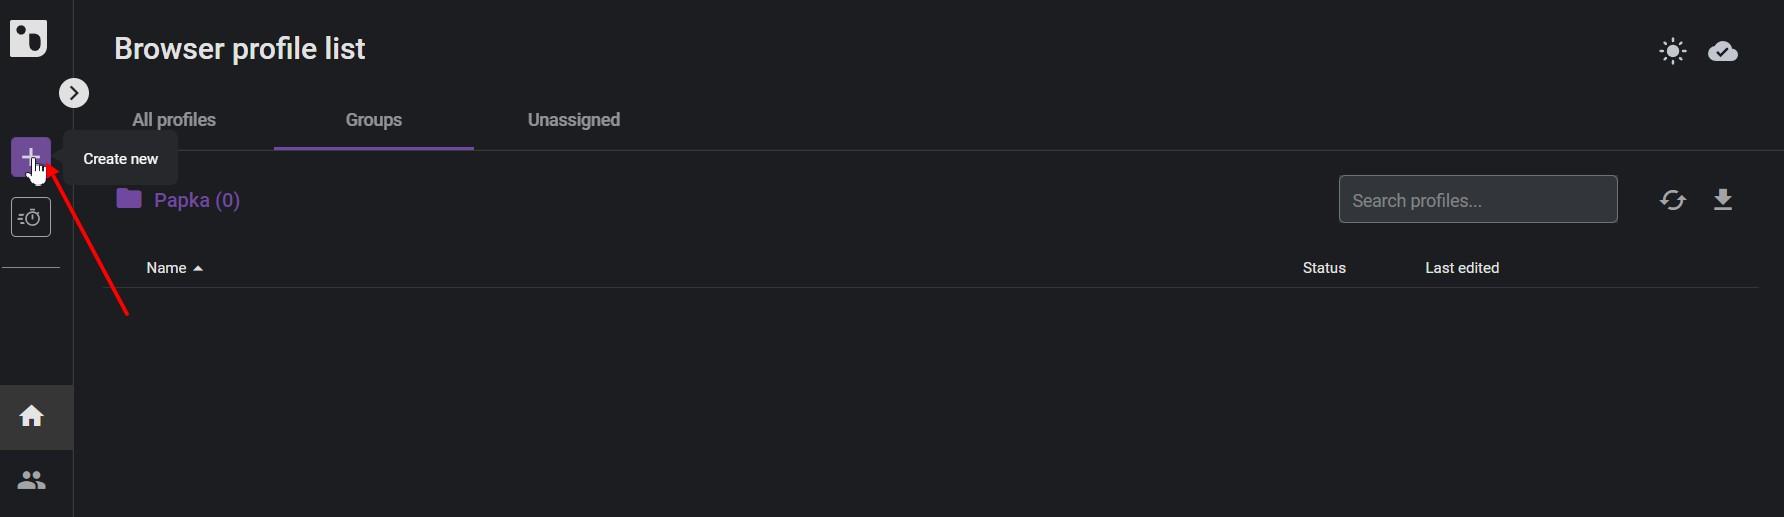
1. Start IP2 Proxy Manager. You can download it on the official site. Log in to your account.
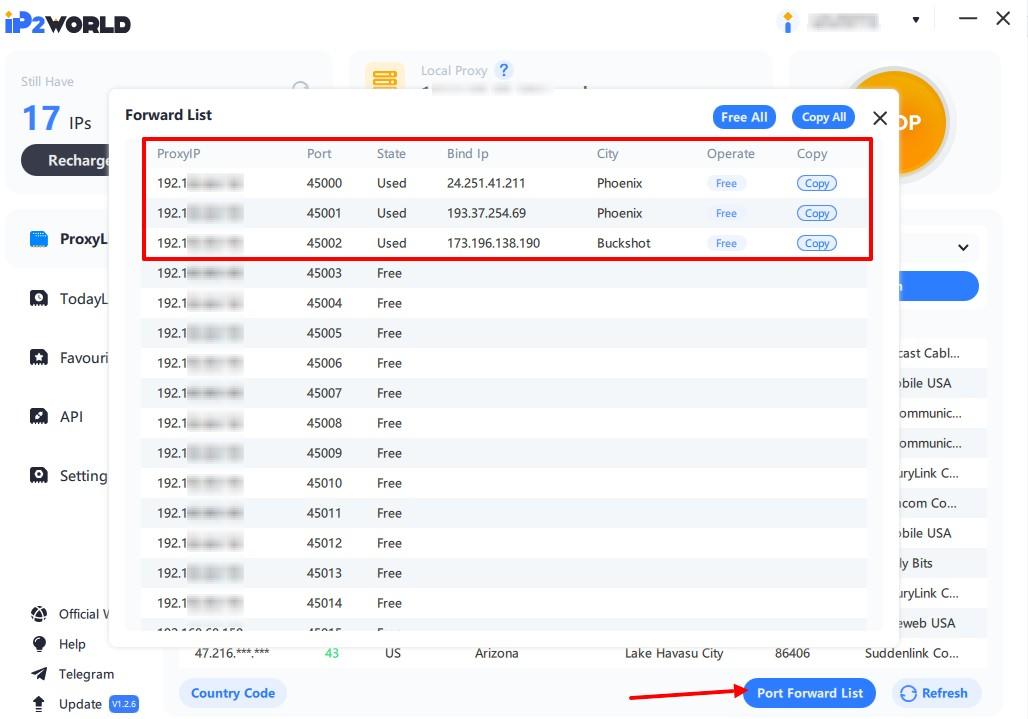
You can see your proxy list. Support to select country/state/city. Select and Click "Search". Click "Refresh" to specify the proxy list.

2. Right-click an IP address, click "Forward Port To Proxy", and select a port.
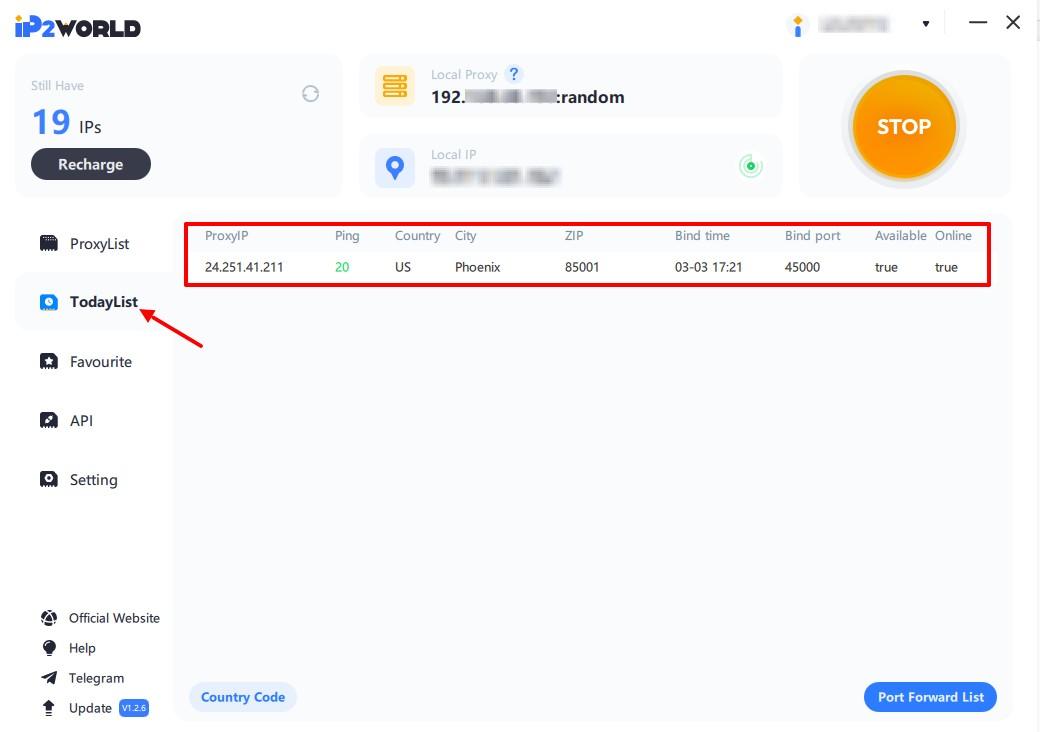
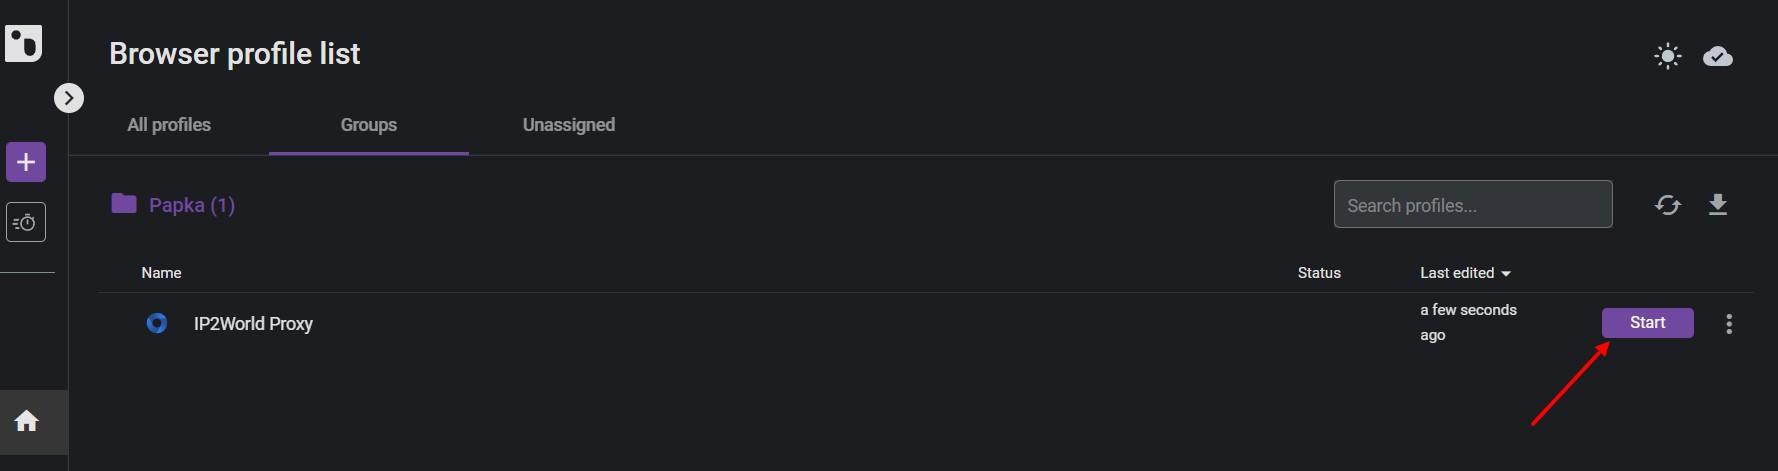
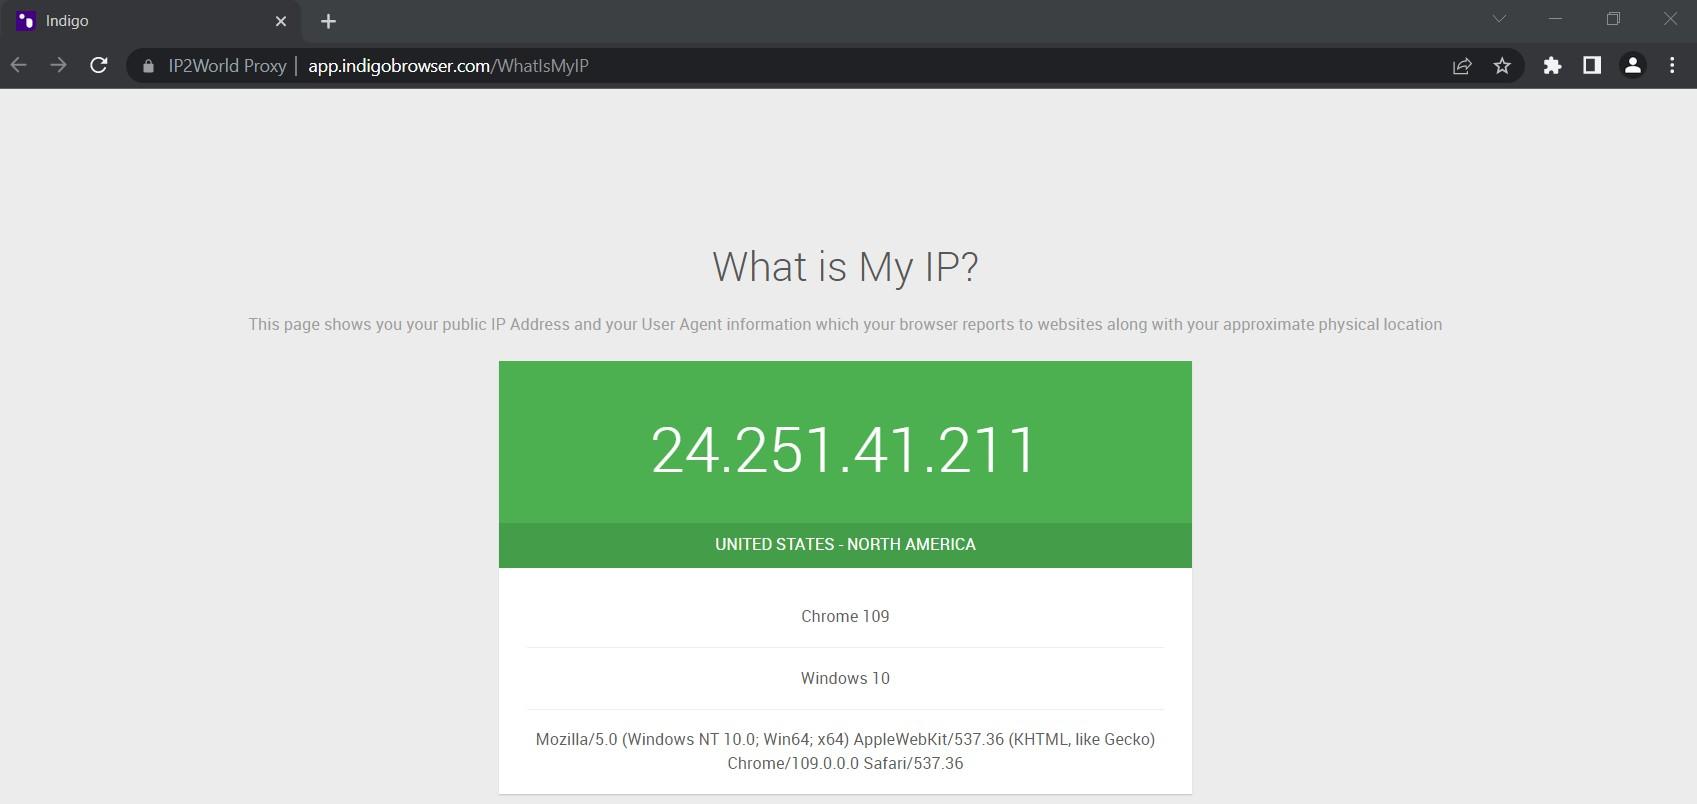
4. It's ready to use. Click Start button an start your job.
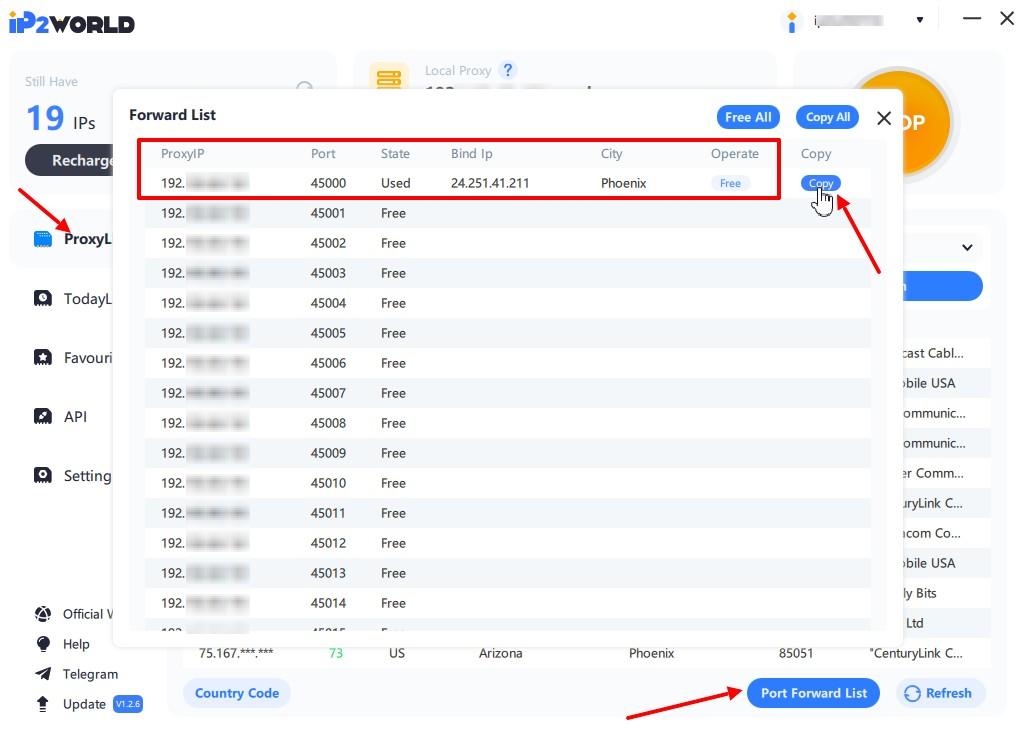
5. If you open multiple fingerprint browsers, you only need to configure multiple ports. Enter the local IP and port in the proxy settings of each newly created "Fingerprint Browser".
*The corresponding port value (check in PortForwardList), you can complete the setting.
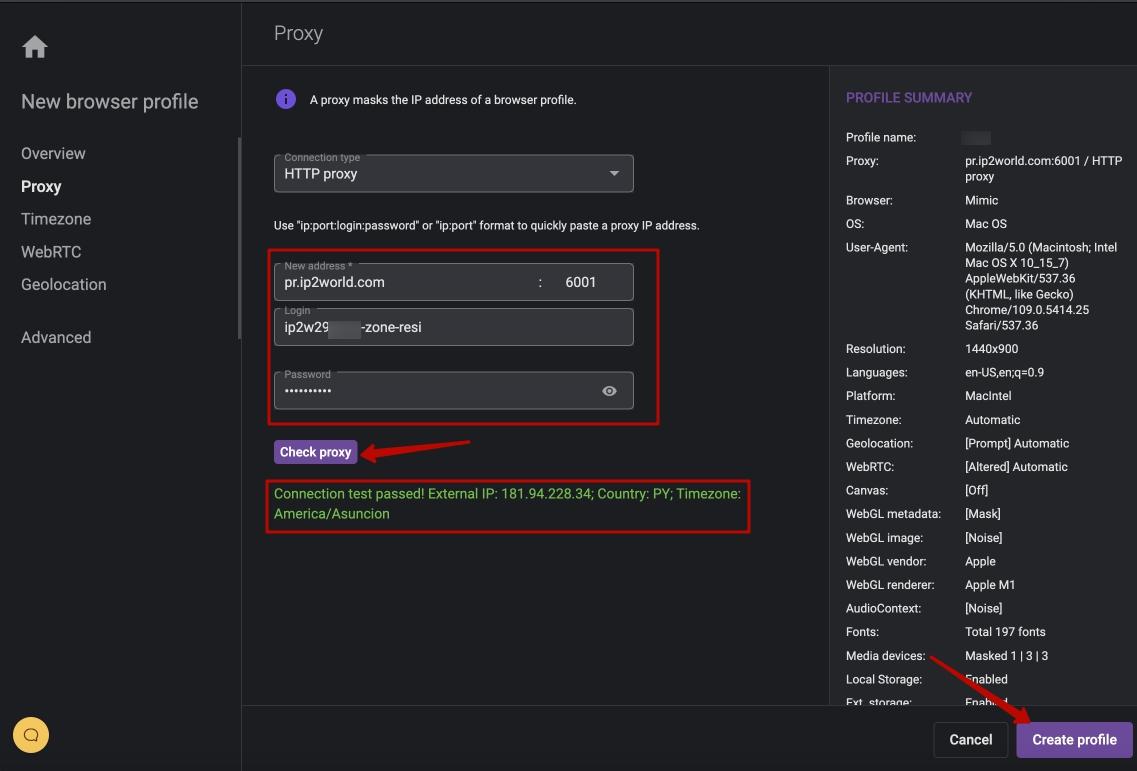
How to setup IP2World rotating residential proxy in Indigo.
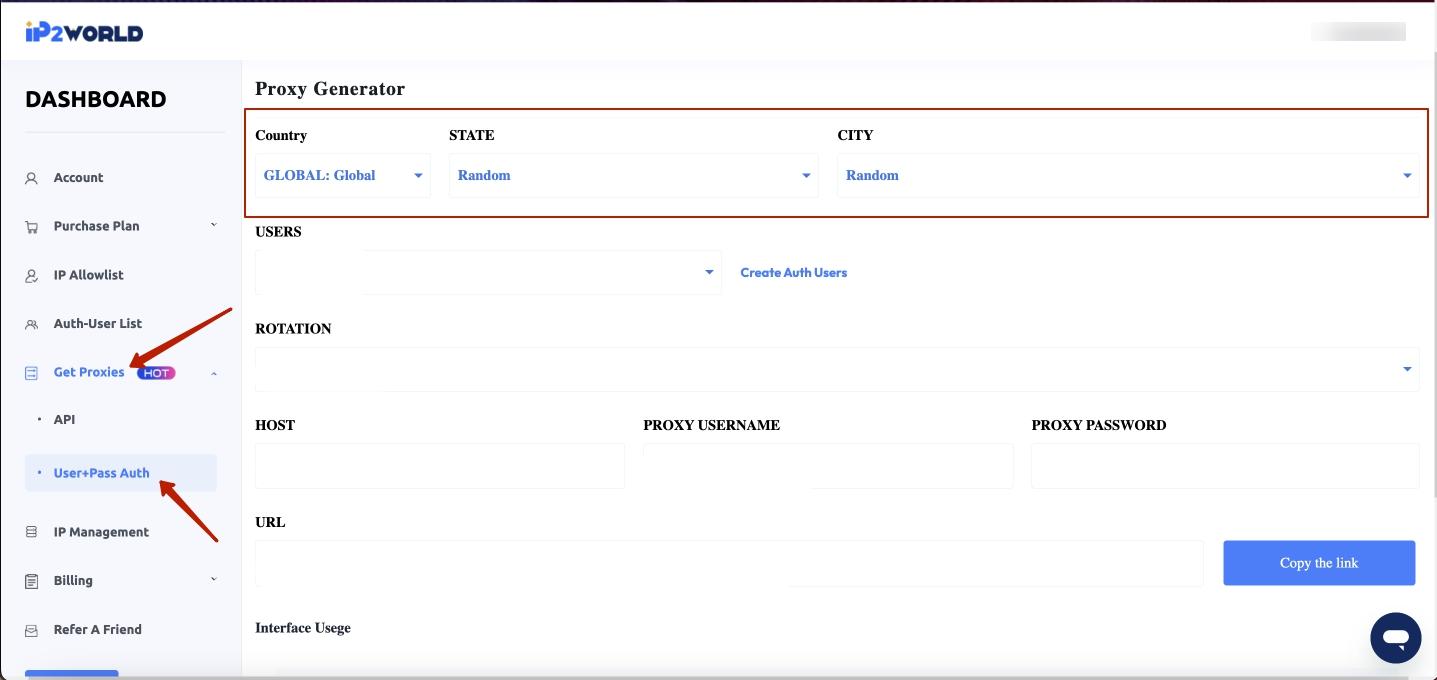
1. Open IP2World web page and log into your account.
Click Get Proxies - User+Pass Auth. Choose country/state/city.
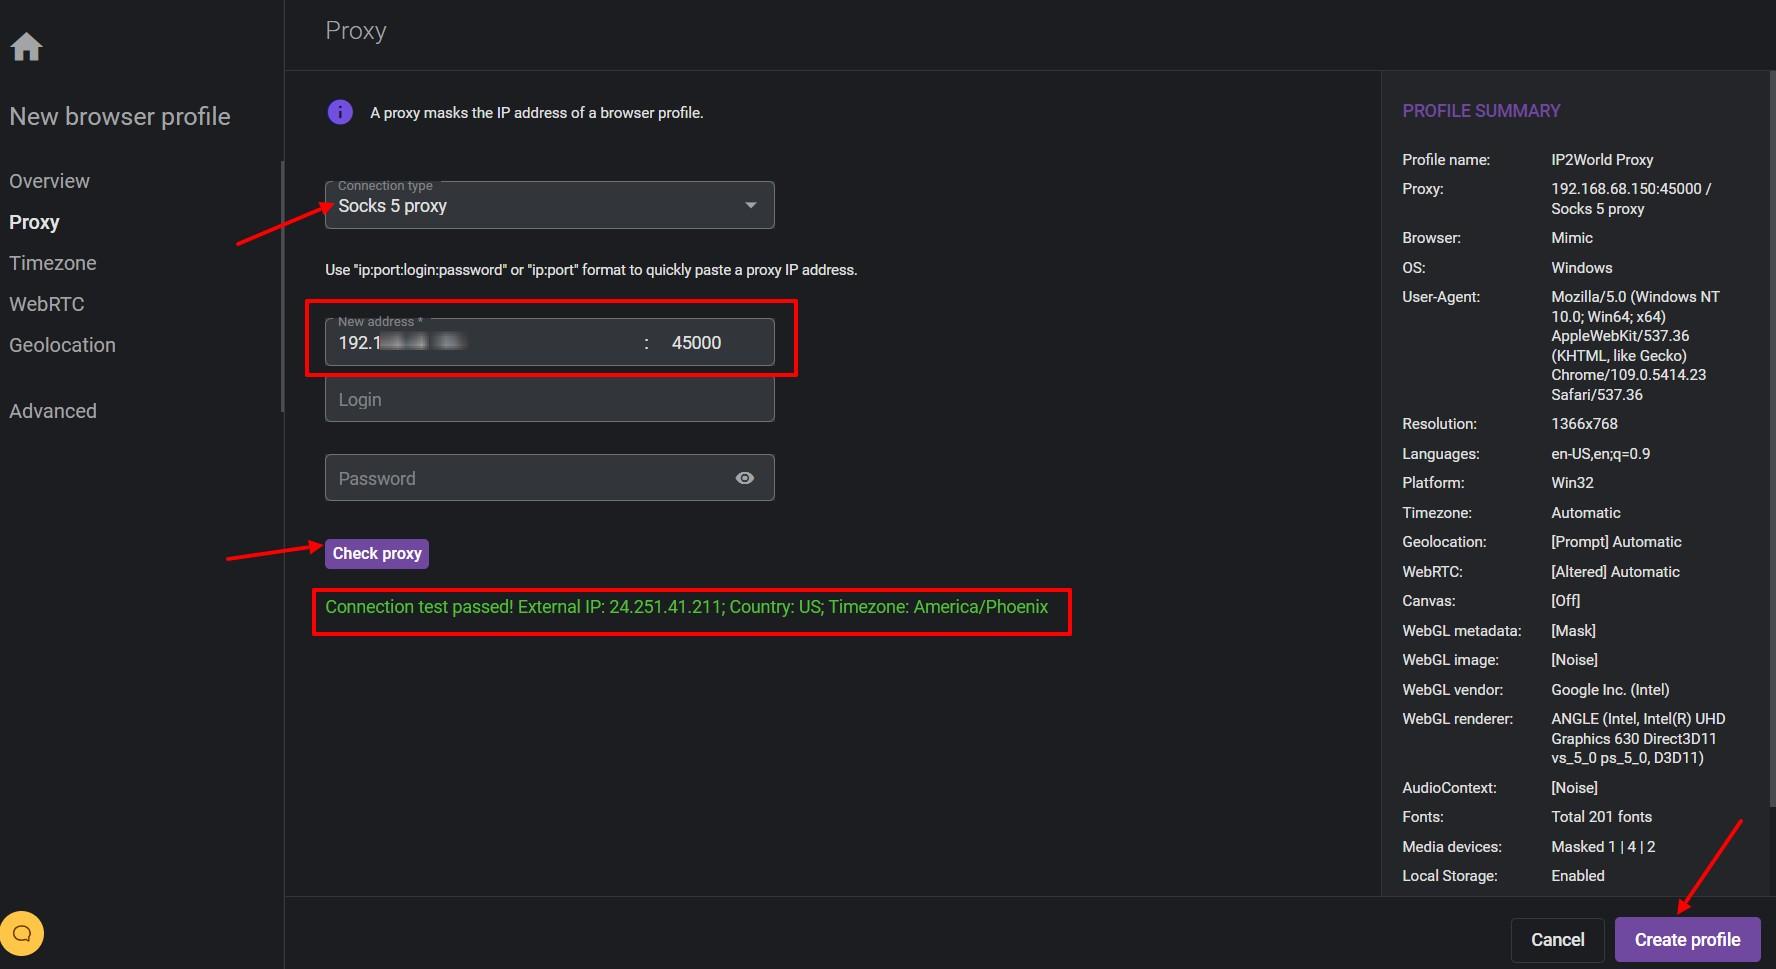
2. Create Auth User. Randomize IP:Change IP with each new request or random duration. You will get your proxy data after this.
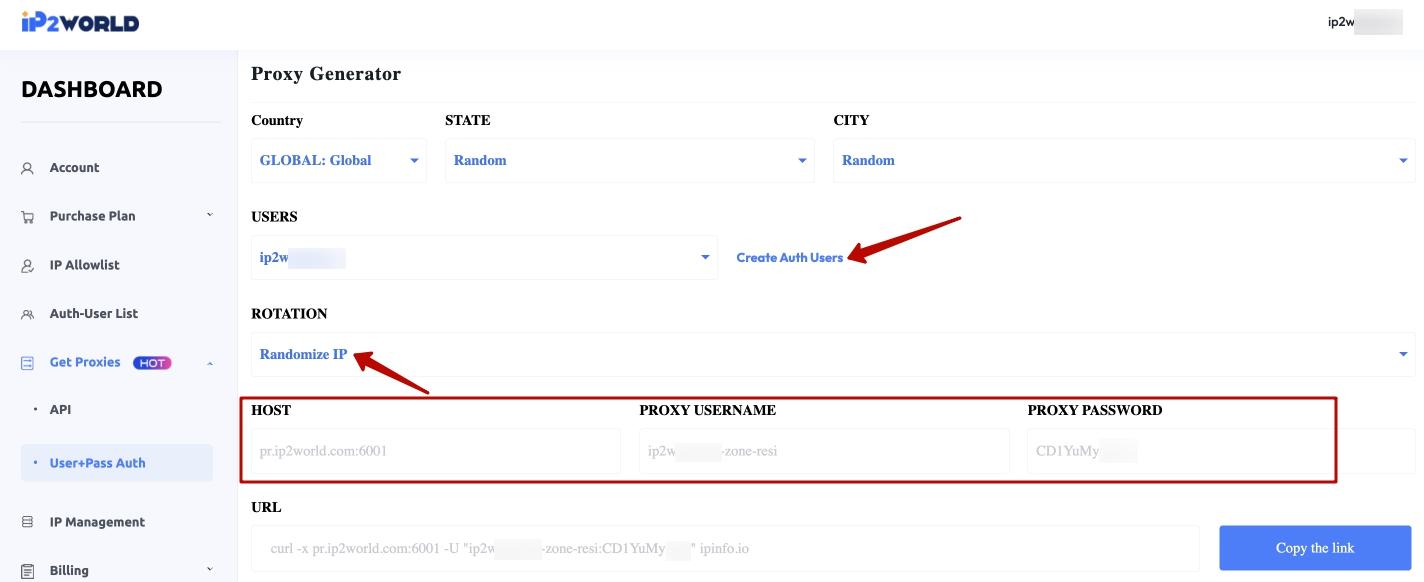
3. Copy your proxy data in the format ip:port:login:password and paste in Indigo. Check proxy and create profile. It's ready to use.