Setup 922 S5 proxy in Indigo
Последнее изменение:
922 S5 proxy

Official website:
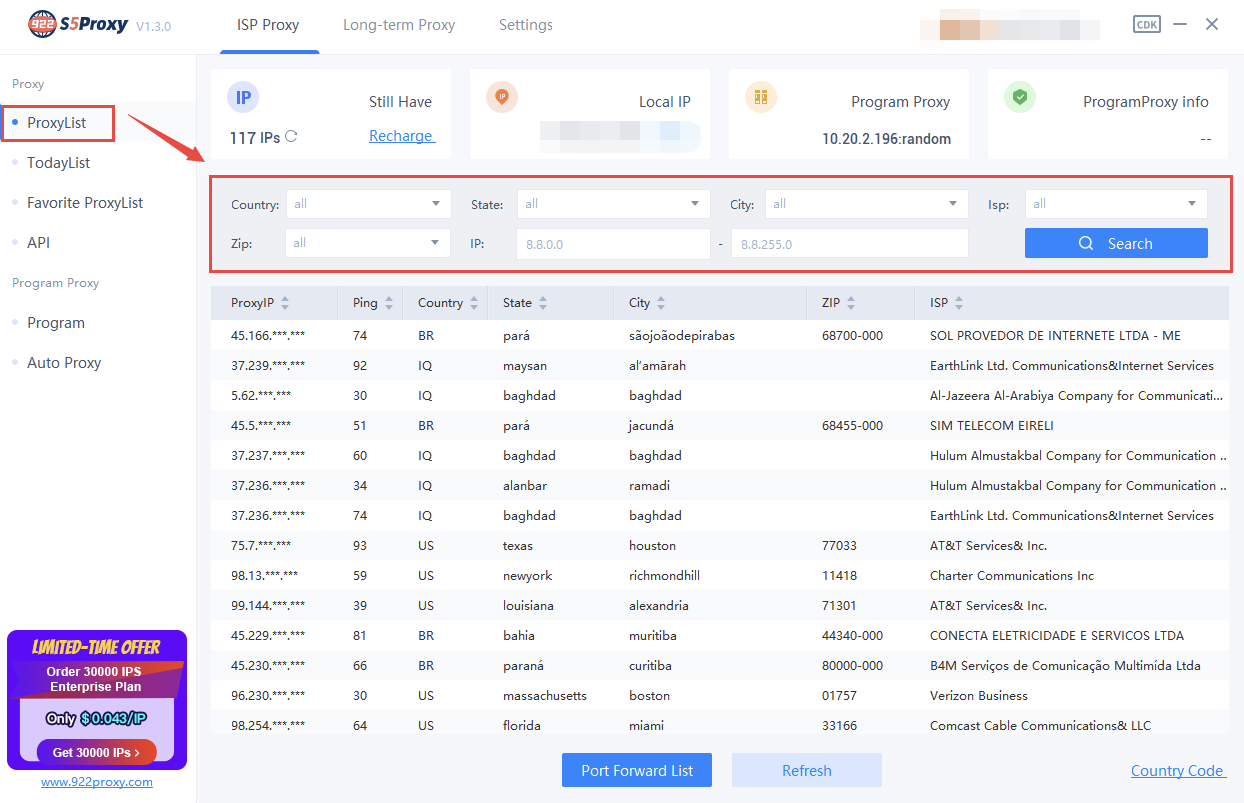
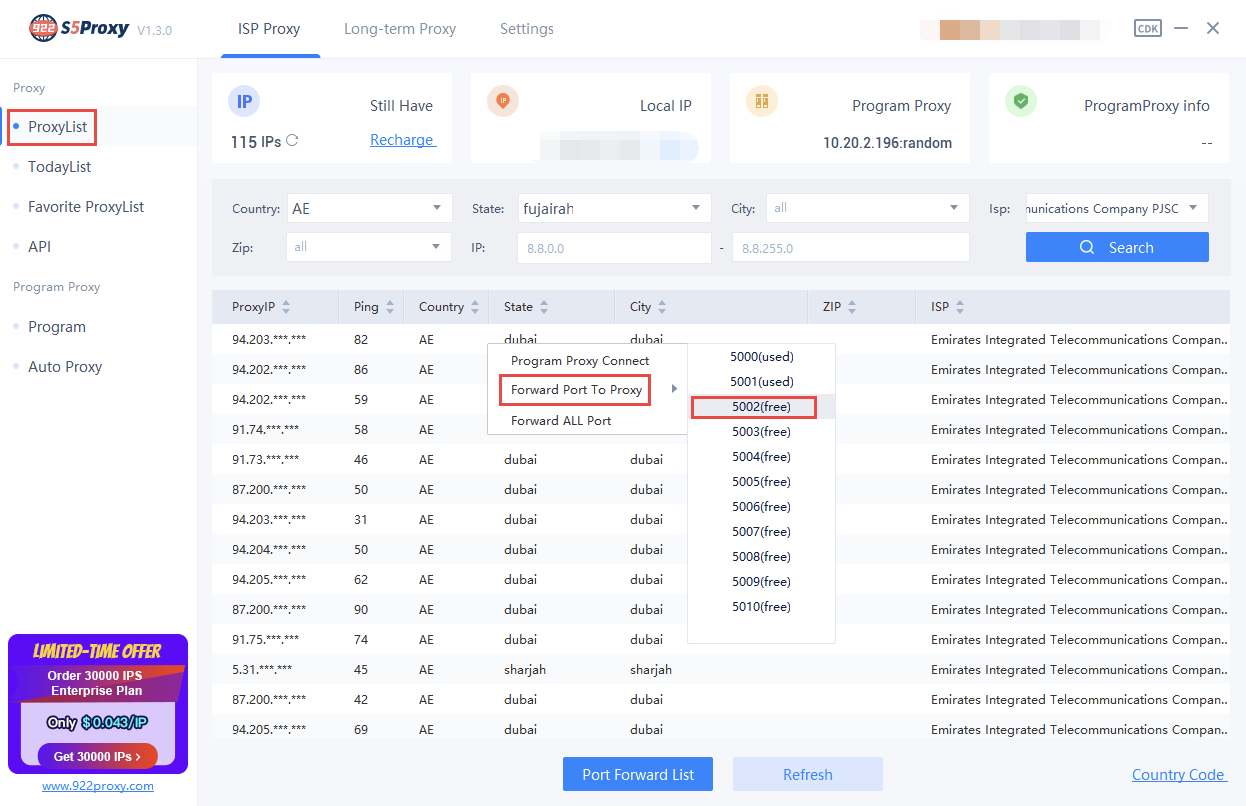
1. Open the 922 S5 proxy client and click ProxyList. Filter the country/state/city, click "Search" to get the IP list of the target area; or directly search the zip code/target IP segment of the target city for quick positioning.
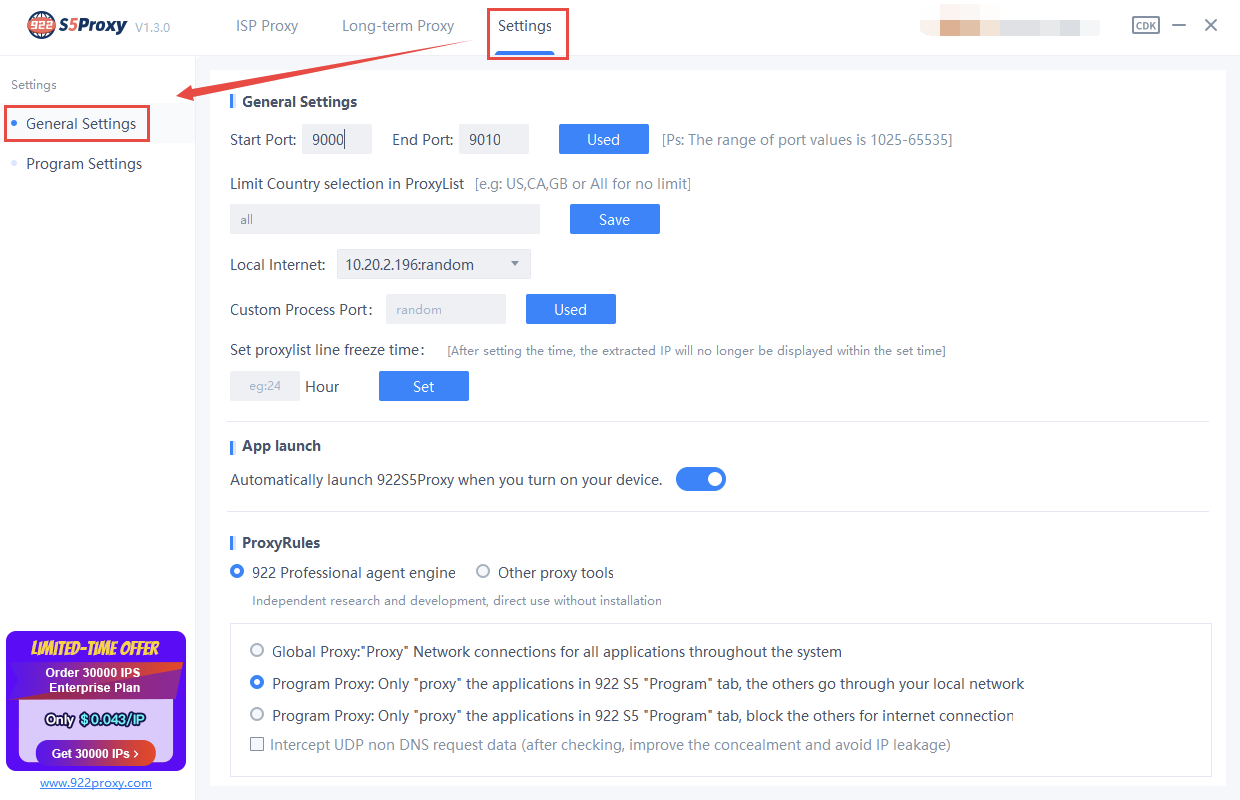
2. Click General Setting in the settings, where you can configure the required port number and country search range. The maximum number of ports that can be set each time is 500.
3. After completing the settings, return to ProxyList, right-click on the IP to set the local port.
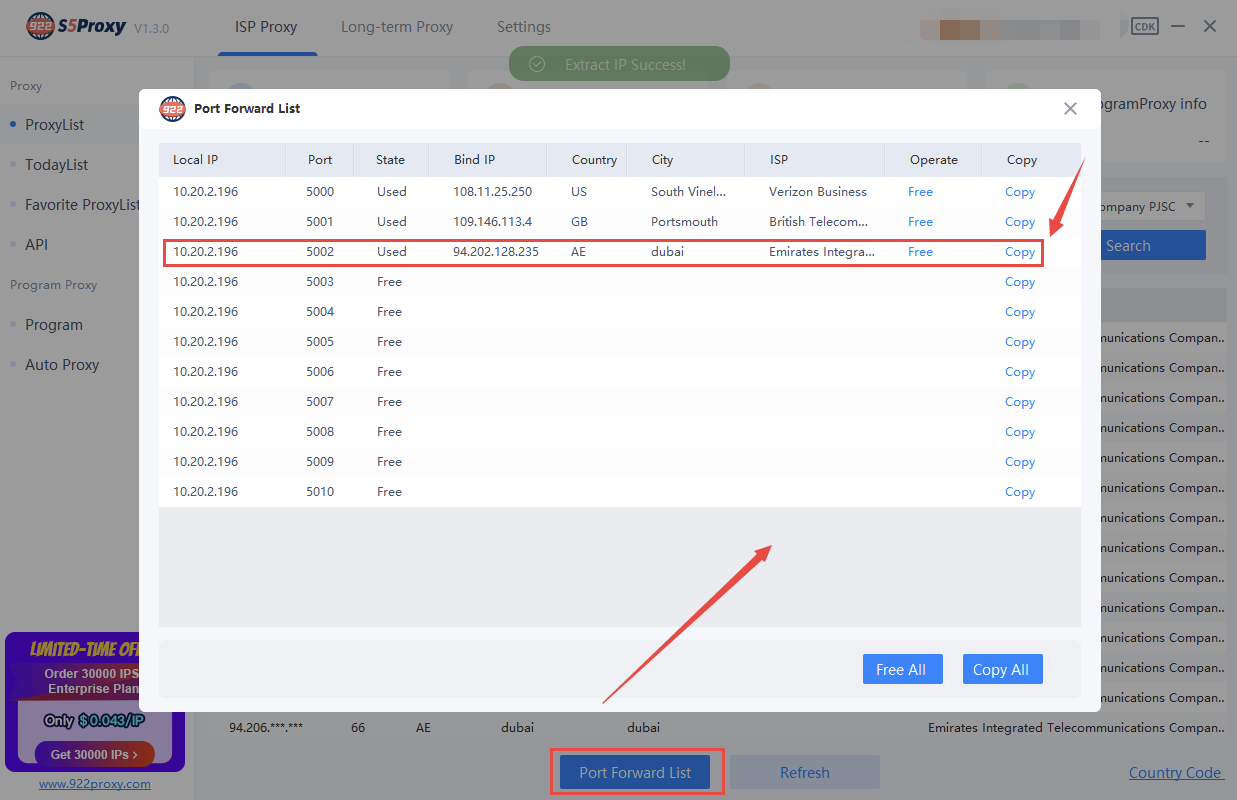
4. Click PortForwardList to copy the Local IP and Port values.
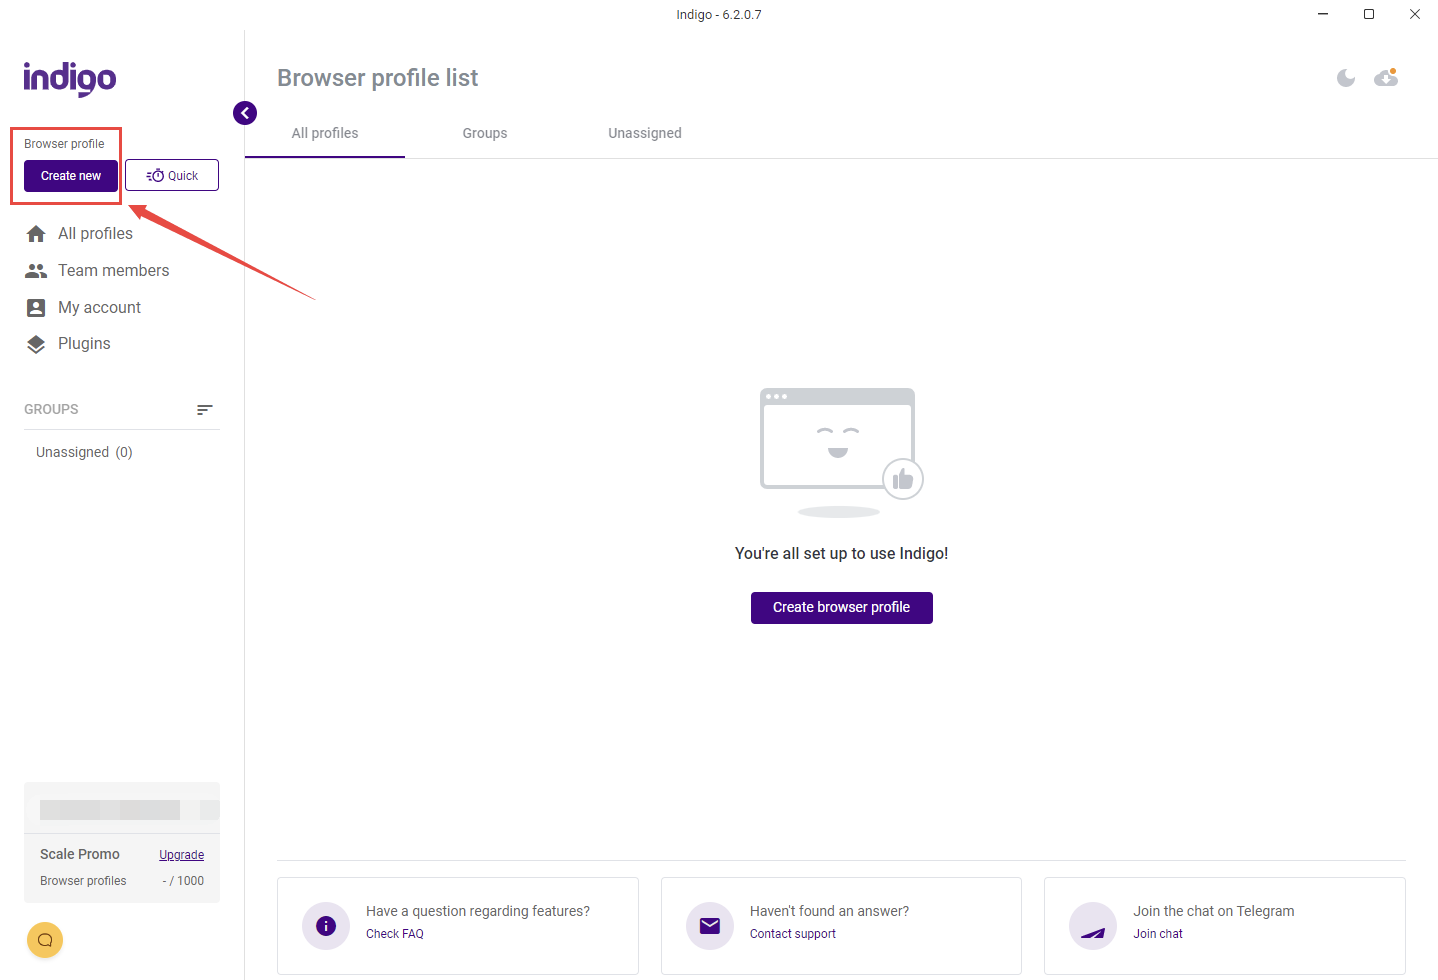
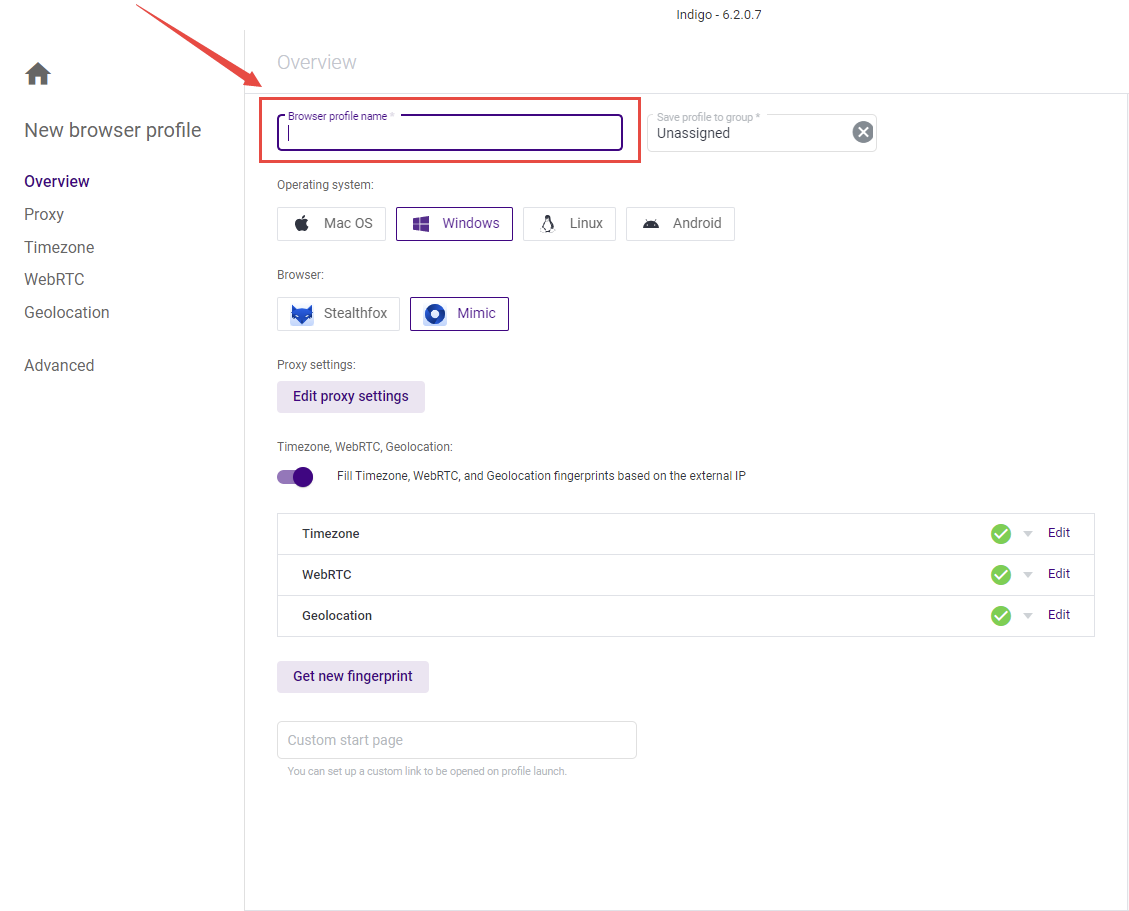
5. Open the Indigo client, click "Create New" configuration file.
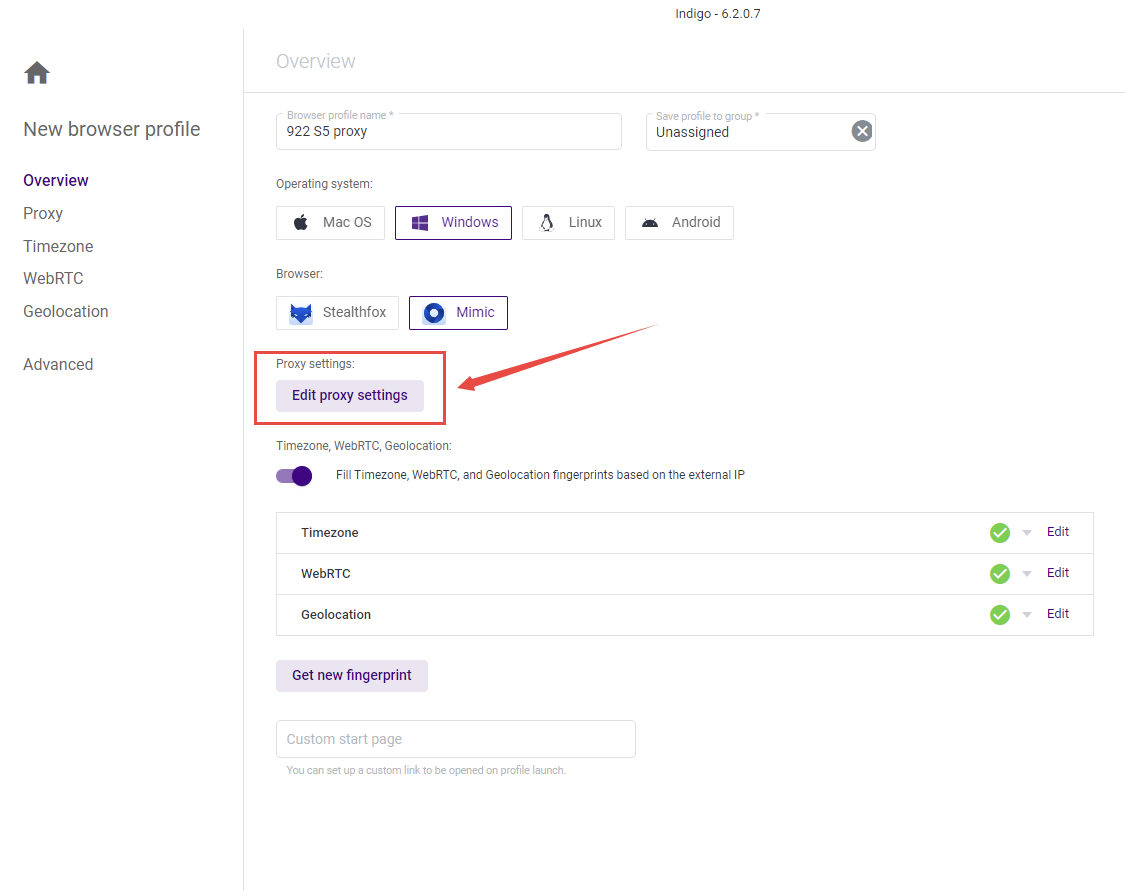
6. Enter the name of the configuration file: 922 S5 proxy.
7. Click here for proxy settings.
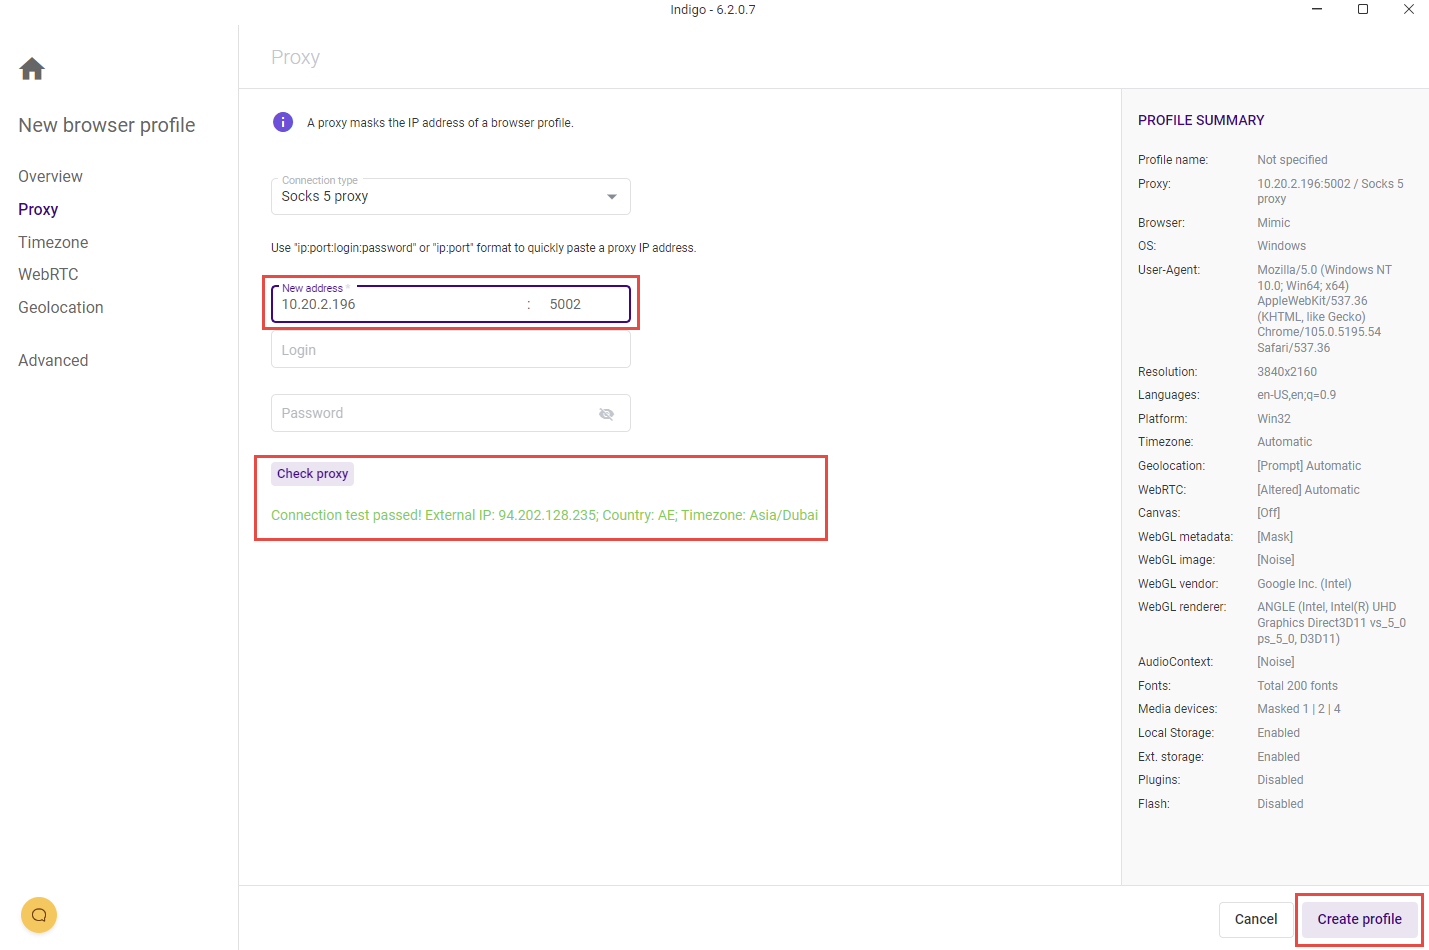
8. Select the proxy type you want. 922 S5 proxy supports both HTTP and SOCKS5. The choice here is SOCKS5.
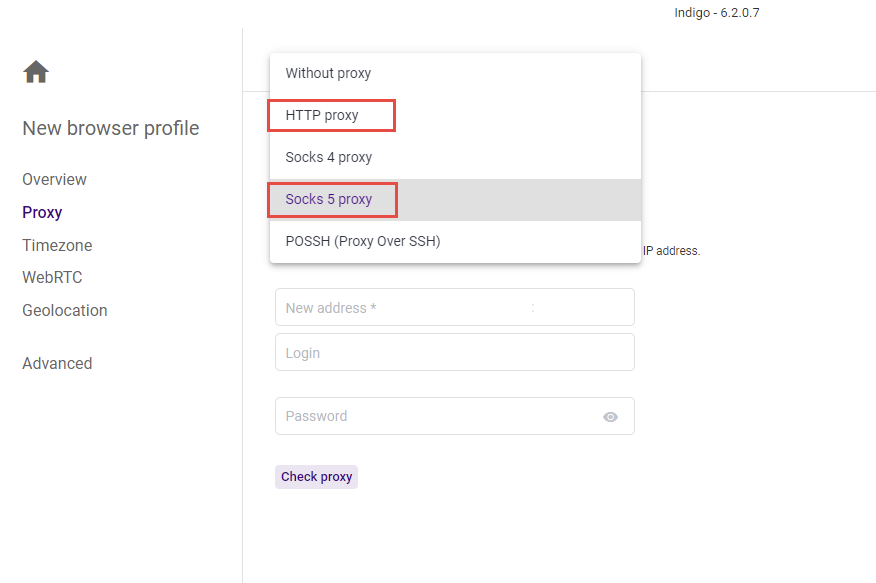
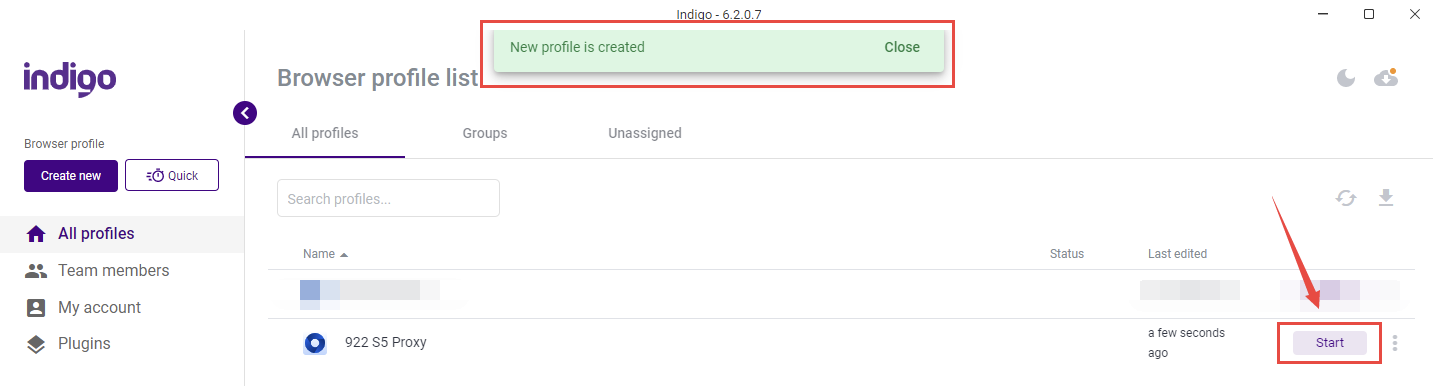
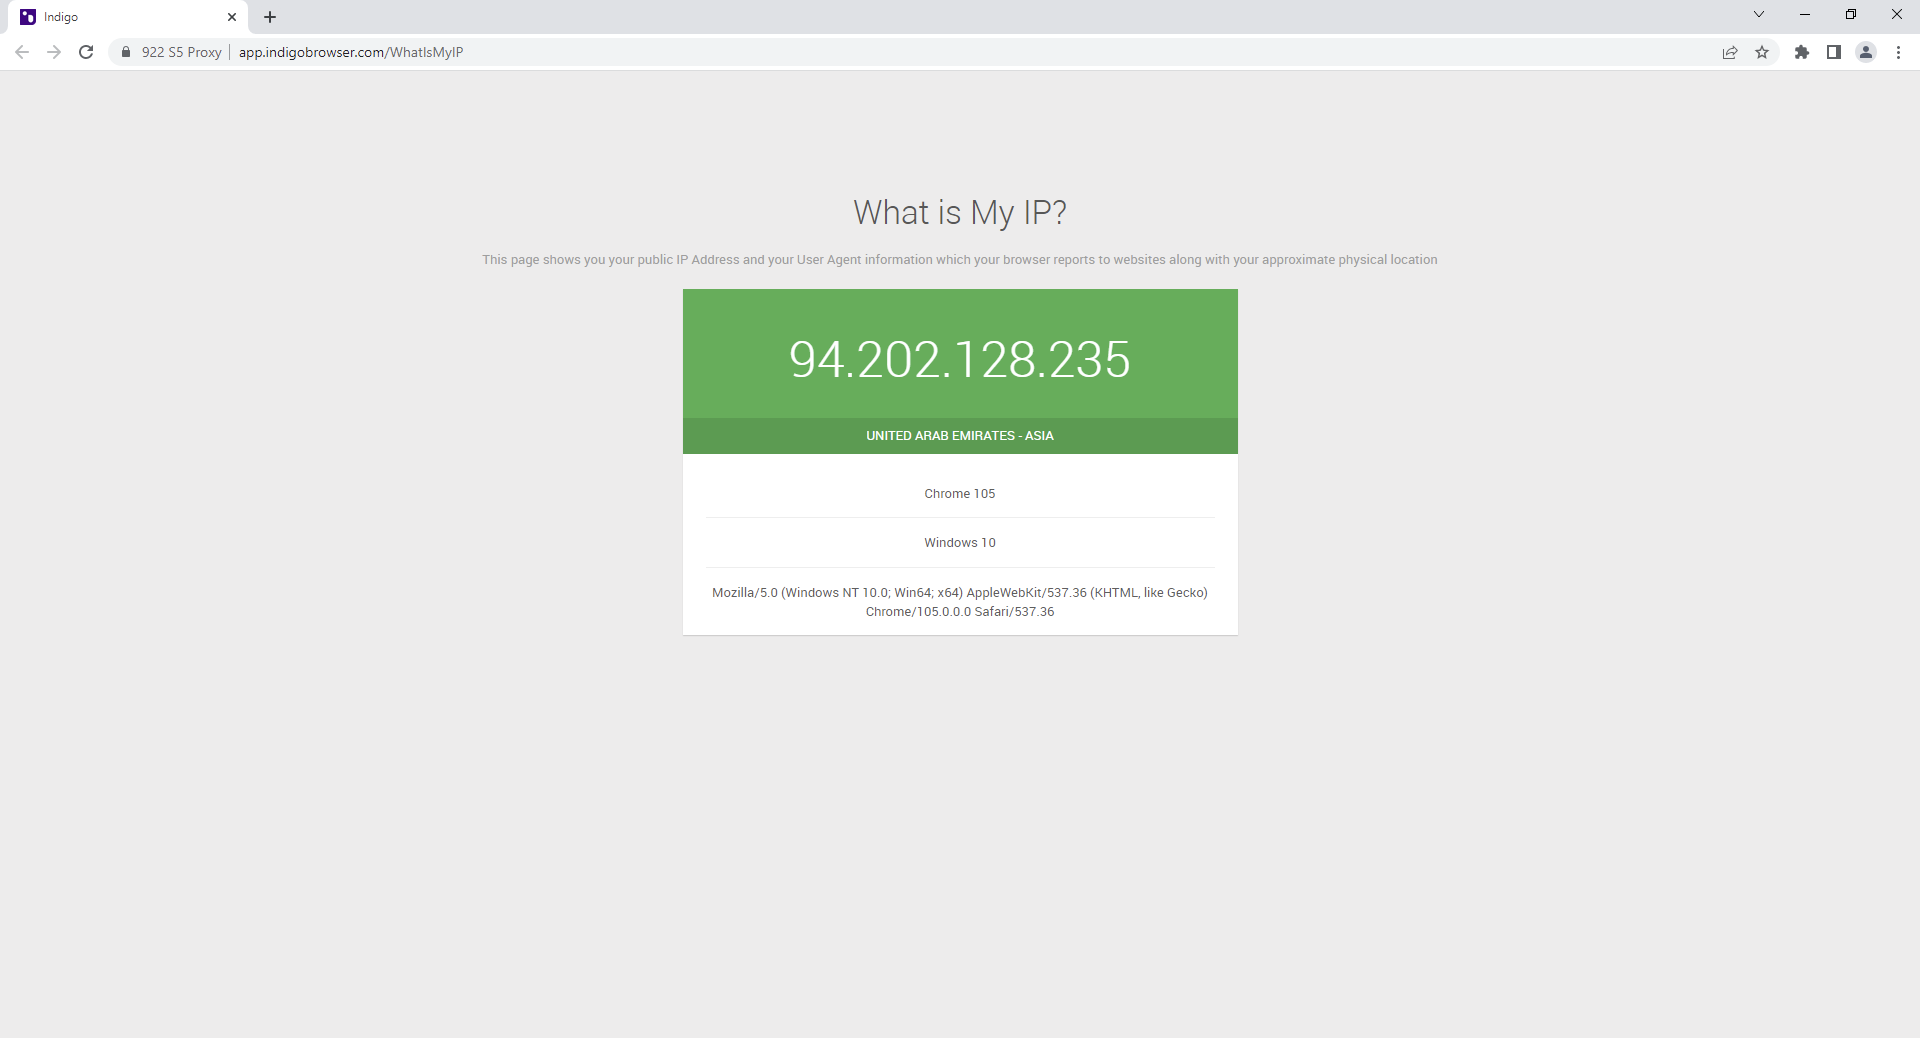
9. Paste the Local IP and port values copied in the 922 S5 proxy client into the Indigo client. Click Check to check the proxy. When the green word appears, it shows that the proxy connection is successful, click on the lower right corner to create a file. After the creation is successful, click Start. Then it's ready to use.